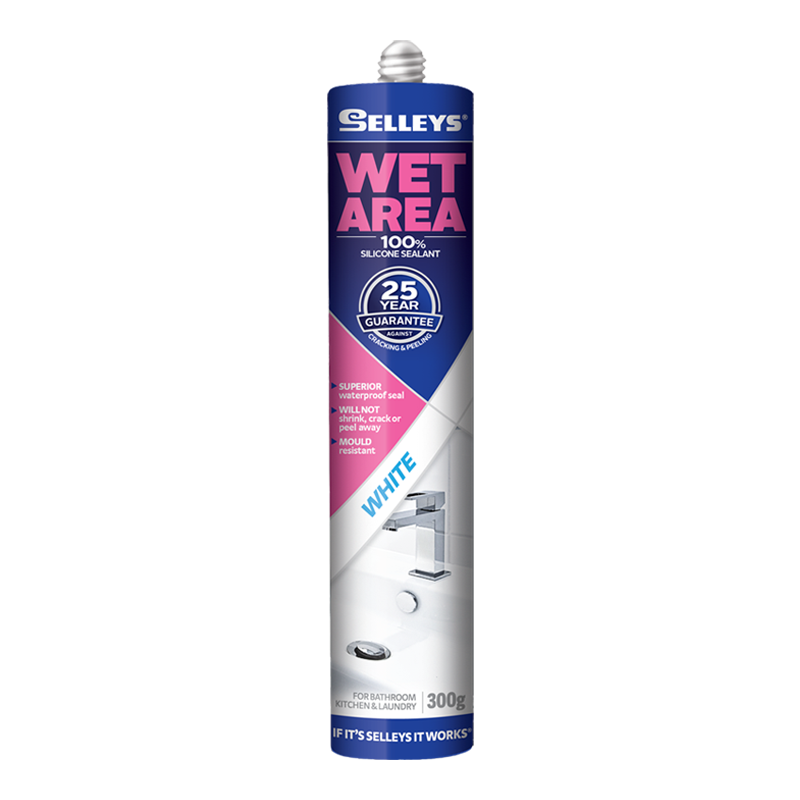
SIZES AVAILABLE
Wet Area Silicone Sealant comes in white, translucent and Almond Ivory and is available in 300g cartridges. White is also available in 75g blistered tubes.
USES
Ideal sealant for gaps around showers, baths, spas, sinks and plumbing fixtures. Excellent adhesion is achieved on ceramics, glazed tiles, metal, plastic, rubber, glass, concrete and grouts.
TECHNICAL DETAILS
Typical Properties
(Not intended for setting of specifications)
Consistency (as applied): Non-slump, solvent free paste.
Curing Mechanism: Very rapidly develops rubber consistency by reaction with moisture from the air.
Curing Rate: 2mm depth per day. Skin Forming Time: 5-10 minutes (depending on weather conditions).
Elongation: Approx. 400% (ASTM D412). 21 days cure
Service Temperature: -60oC to +150oC
Joint Movement Capability: ±25% of original joint width when applied in properly designed joint
Properly designed joint refers to the accepted concept of correct sealant dimensions, ie. sealant depth equal to half sealant width and sealant applied over a suitable backing material to which the sealant will not adhere or
which does not limit the free movement of the sealant.
HOW TO USE
• All surfaces must be clean, dry and free from dirt dust, oil and loose rust. Clean surfaces with mineral turpentine and wipe dry with a clean rag before applying sealant.
• Cut tip off cartridge and cut nozzle at 450 angle to suitable size opening. Fit nozzle to cartridge. Place cartridge into caulking gun.
• Hold caulking gun at 450 angle and gun sealant ahead of nozzle ensuring product is pushed into joint.
• For a smooth finish, tool with a spatula. Excess sealant must be cleaned up before the sealant skins in 5-10 minutes. Wipe excess away with a cloth dampened in mineral turpentine.
• Sealant will cure fully in 72 hours (based on thickness of 6mm). At this point any unneeded sealant can be removed by trimming with a sharp blade, but avoid under-cutting seal.
• Sealant can be wet after initial cure time of 10 to 12 hours.
LIMITATIONS
• Can’t be painted over
• Not suitable for sealing fish tanks
• Not recommended for areas in direct contact with food, eating utensils and drinking water
• Not recommended for below ground or below waterline applications
HANDY HINTS
• For a cleaner appearance mask both sides of joint prior to sealing. Remove tape before silicone skins.
• For a better finish complete painting prior to use of sealant as it can not be painted over.
• For a smoother finish use a spatula dipped in detergent solution.
CLEAN UP
Clean all excess sealant from equipment before it cures with a cloth dampened with mineral turpentine or acetone. Once cured sealant is extremely difficult to remove and must be abraded or trimmed with a knife.